Custom Reports allow you to combine the power of an advocate search with the ability to download specific information from your database.
They also allow you to pull activity logs – records of every message or tweet sent through the site – based on searches you set up. With Custom Reports, the data held in your Engage account can be exported into formats for easy analysis.
To start, just go to “Reports -> Reports”

This is where you can see all your previous reports. You can use the “Create Report group” feature to create multiple tabs and group your reports under different ‘folder tabs,’ so you don’t have a long list of reports to dig through.
When you hit “Create New Report” you’ll be asked to choose between Activity and Engagement reports.
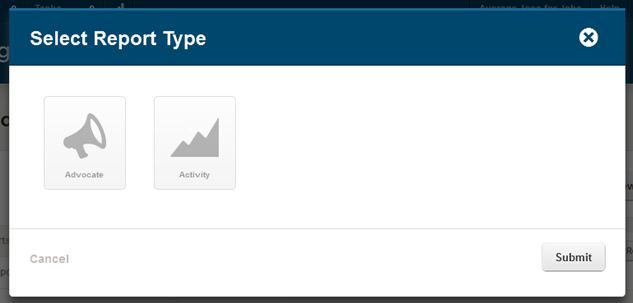
You have two report types you can create:
Advocate: Advocate reports will give you information on people in the system. When you see the report, you’ll find one line per person who meets the report criteria. For example: I create a report looking at the advocates who used an Engagement. The report shows me information on the advocates themselves – one line per advocate.
Activity: The Activity reports will give you the number of activities generated when someone takes action. Basically this is a log of messages, tweets or other activities based on your search criteria. For Example: I create a report looking at activities generated by a specific Write your Legislator engagement. The report will show me one row for every letter sent through the engagement.
Advocate reports are excellent for finding out information about the advocates themselves. An activity report is for folks who want to do a deep-dive on what was sent to legislators and other targets. And both reports let you extract very specific data from the site.
In this example, I’ve decided to create an Activity Report and search on the recipient’s state. So I want to find the elected officials from a specific set of states who received a message from my Engage site.
Creating the Report:
After selecting the type of report you will be brought to the “Create Report” screen. You will be asked to fill in the Report Title (required) and select a Report Group (required). Then, you can build your search criteria.
The Build Report Criteria works in the same way as a search under the Advocate area, but has a few different options depending on the type of report you’re creating.
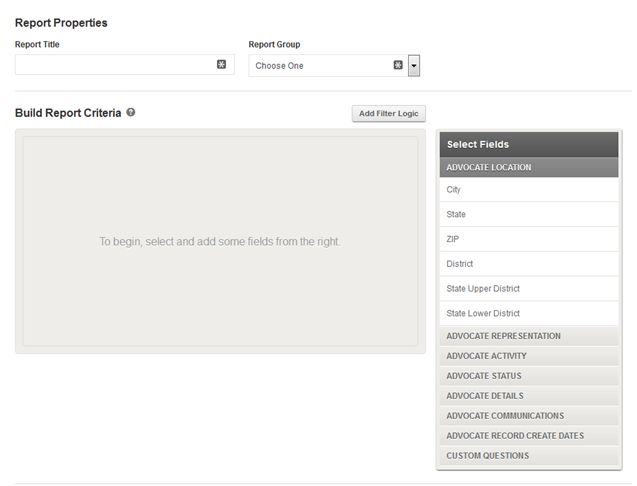
This is an Advocate Report. Notice, the Select Fields area is pretty much the same as under advocate searches.

But the Select Fields on the Activity report has some different options:

The search options here are expanded because you are searching through activities. You can look for recipient information as well as the sender advocate’s information. Otherwise, you would set up the search like you would an advocate search – select the field you wish to search on, and then set your criteria.
In this example, I’ve decided to search on the recipient’s state. So I want to find the elected officials from a specific set of states who received a message from my Engage site:
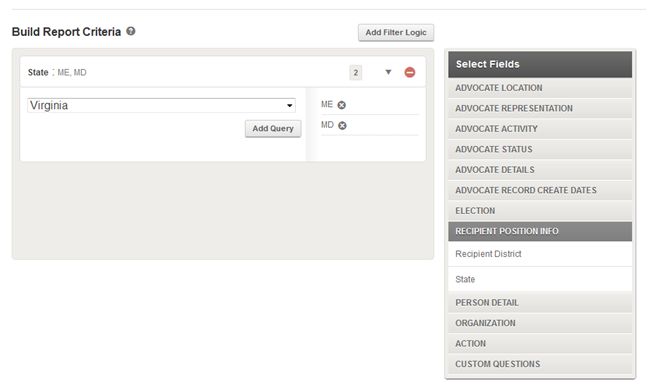
All this does is set up the search criteria. It tells the system to look for activity data matching this question: “Find me activities where the recipient is in X states.
The next step is to choose columns for the results table. Under the search area you’ll see a section called “Choose Columns for Results Table.” Beside it is a search box labeled “Add Fields to Result Table.”
When you search for a field, start typing in one letter at a time and the system will try and find the most appropriate results.
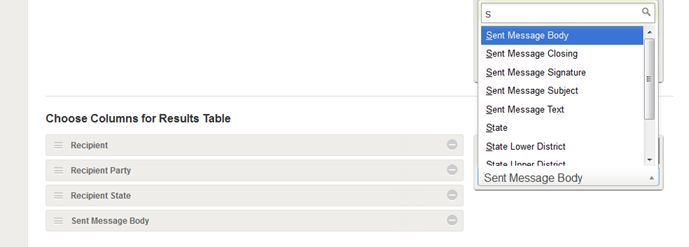
By selecting these fields, you are picking the columns which will show up when download the data. So if you want to see someone’s first name, you must add it to the columns in the results table.
The results table is automatically blank. We do not set default fields. You will need to go in and select what information you want to get out. You can add and remove fields later on, but for now, select what you think you will need.
If you wish, you can re-order the fields by dragging and dropping them. You can also sort the results by a specific field, but this may slow down the final processing of the report.
Once all the criteria are set and the fields are selected, you can Preview the report and just see a quick view of the results, or Save the report for download.
Running a Report:
To run any report, simply go to the Reports area and select the “View Report” button next to the report name. Select it. You’ll be taken to a reports results page, which allows you to browse through and sort the results.
If you wish to download the data, select “Request Download.” A “Request Download” dialog will appear, requesting your email address.

Enter in your email address. When you hit submit, the report system will get to work. It will generate the report in the background, and send you an email when it’s done. Reports run offline for your convenience, to prevent report download timeout issues. You don’t have to sit in front of your browser and wait.
You can then follow the link or go to “Reports -> Requested Downloads” to find the file. When you download it, it will be in a Comma Separated Value format (or CSV). You may need to save it, and then open it in Excel or a similar program.