Adding Custom Recipients
There are times when you need to target an individual and a company CQ Roll Call does not have inside its database. For these cases, you can create a custom recipient within the system. A custom recipient will allow you directly contact individuals using Engagements.
Creating a Custom Recipient:
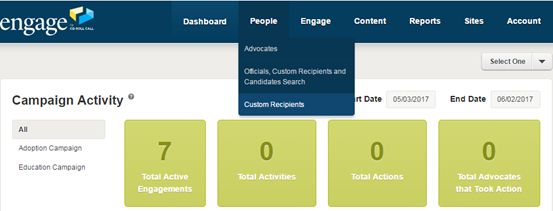
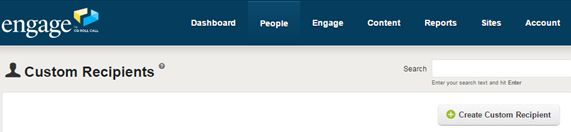
First, go to People -> Custom Recipients
Select “Create Custom Recipient”
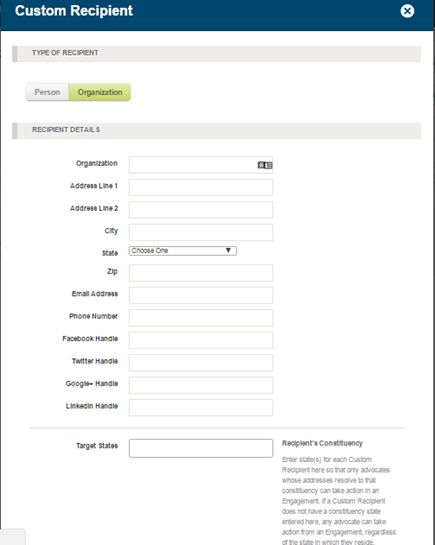
Select type of Recipient -> Person or Organization
Based on the selection, fill in the appropriate recipient details. For Organizations, only the “Organization Name” is required. For Persons, the “Last Name” field is required. We highly recommend filling in as many details as possible: first and last name, title, address, city, state, email address, Twitter handle, etc.
NOTE: You cannot use a custom target in an engagement the appropriate contact information is not filled in. For example: A record with no Twitter handle cannot be used in a Tweet your Legislator engagement.
“Target States” and “Target Postal Codes” allow you to limit who can write this custom recipient by state or ZIP code. You are not required to fill those fields in.
Example Organization Form:
Example Person Form

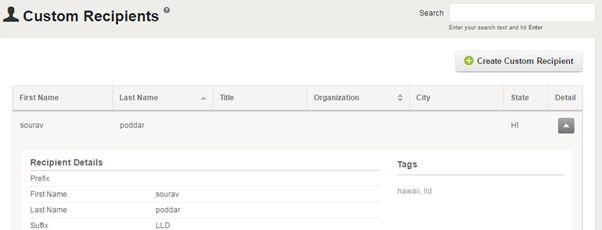
After creating a custom recipient you can also add “tags” for that particular recipient for the purposes of searching, and sorting, the recipients. Here we added tags Hawaii and LLD for this recipient.
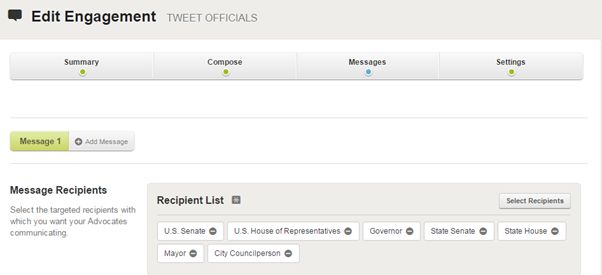
Adding Custom Recipients in an Engagement
You can add custom recipients to a new or existing engagement when editing the Message or Talking Points area. Under Recipient List, hit “Select Recipients.”
Under the “Custom Recipients” tab, any custom recipients which can be used by this Engagement will appear.
Select the custom recipient and hit submit. The Engagement how has a custom recipient as a target.
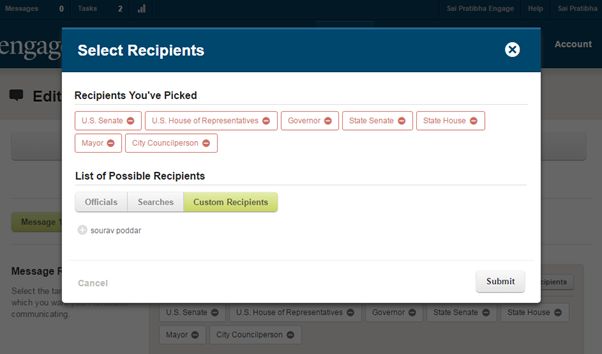
Now, all messages from this Engagement will go to the custom recipient,a s well as any other targets.