Setting up administrators is one of the first things anyone does when an Engage site is provisioned. The Engage site gives you, the administrator full control over how many other logins are provided. You can provision them and control the levels of access for each login.
Create an Administrator:
First, you’ll need to gather some information about the different administrators. Identify the following fields for any other Administrators of your Engage site.
| First Name | Last Name | Email Address | Level of Access |
Once you have this information, go to “Account -> Administrators.” You’ll see a form to set up administrators:
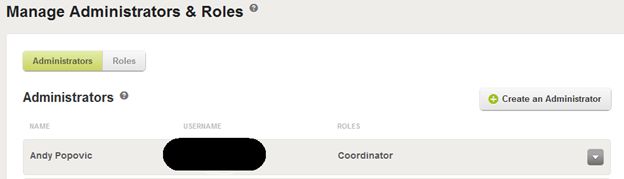
For now, we’ll look at the Administrator tab. To add a new user, hit “Create an Administrator.”
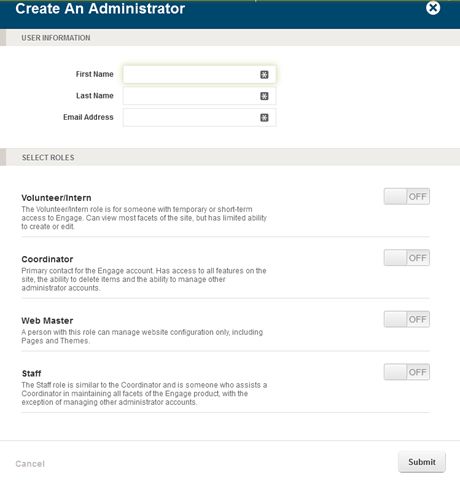
Fill in the First Name, Last Name and Email Address. Then, select the Role for this individual. We have four default roles:
- Coordinator: Access to all features, can delete content and manage administrator accounts.
- Staff: Access to all features except managing sharing, can delete content.
- Web Master: Manage website configuration only, including Pages and Themes.
- Volunteer/Intern: Limited ability to create or edit content.
When you hit Submit, an email is sent to the new administrator asking them to set their new password. Once the password is set, the administrator can log in and use the site.
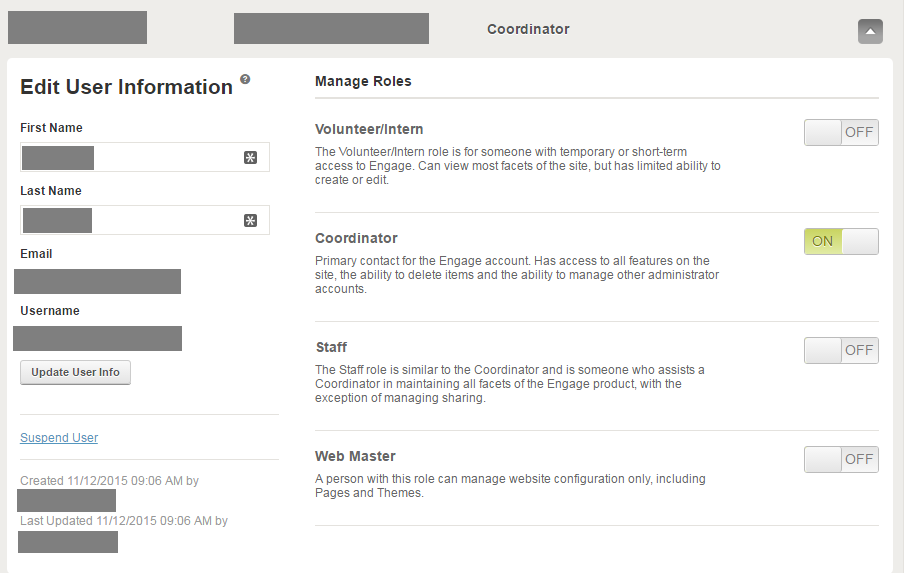
At any point in the future, you can edit the user’s detail information and change their permissions.
To revoke a user’s access, click the “Suspend User” link. You’ll be able to restore them in the future if needed by clicking the “Unsuspend User” link visible on disabled admins.
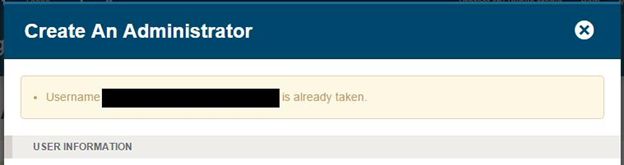
If a username has been taken, you will receive a warning:
Create & Update a Role:
The Roles we have are suggestions. You may wish to create a role with more or less responsibility; you can do so in the same area where you create administrators by hitting the “Role” tab.

This page shows you the Role and describes it. Under Permissions, you’ll see what the role can or cannot do. If you click on the Detail button, you can edit or change the role.

This will let you select or unselect different permissions.
If you hit “Create Role” you will be asked to set a Role Name and Description, and then given a blank version of this form. You can then select the different areas you wish to give access to.