Engage accounts start with a standard set of default forms that are assigned to specific engagements and registration modules:
- Registration Form
- Advocate Info Form (Standard)
- Advocate Info Form (Write a Letter)
- All fields are required and cannot be removed
- Advocate Info Form (Sign a Petition)
- Additional Advocate Information Form
- Voter Registration
- This form can be customized but additional information will not be passed through to the National Mail Voter Registration Form
- Call Feedback Form
- Make a Donation Form
- All fields are required and cannot be removed
The default forms cannot be deleted, but you can add, remove, rename, and reorder some of the fields on these forms. The exceptions are “Make a Donation” and “Advocate Info Form (Write a Letter)” forms. The Write a Letter form is locked down to comply with the Congressional webform requirements that many legislators use to receive correspondence.
To update the name or properties of an existing field, use the gear icon to open the detail panel and change the field name and/or to make the field required.

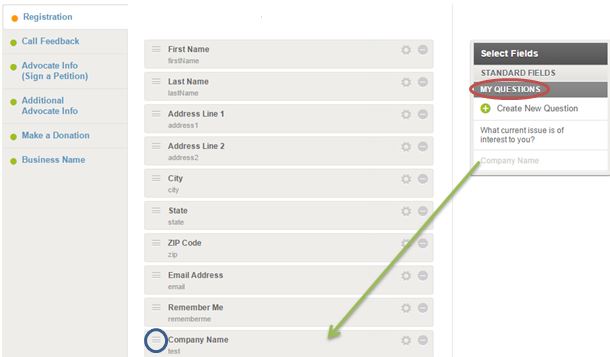
To add custom questions to your form (not an option for the “Write a Letter” or “Make a Donation” forms), click on “My Questions” in the Select Fields box. Select an existing question or “Create New Questions” and enter the question information. The custom question you’ve just created will appear in the My Questions section. Click on the green button next to your custom question to add it to your form. Use the three dashes found on the far left of the gray box to change the order of the fields (drag up or down).
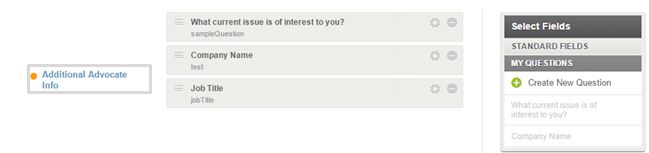
The “Additional Advocate Info” form can be used to capture additional details you would like to know about your advocates (taking action on Write a Letter engagements since the form associated with that engagement cannot be customized). Add standard fields or your custom questions to the “Additional Advocate Info” form and when you’re setting up your engagement, select that form from the drop down menu under “What additional advocate information form should display with this Engagement?”. The fields/question for that form will appear on the second page of the engagement process on the public facing site.
You also have the option of creating your own form. On the “Forms” page, click on “Create New Form”. Enter the Form Name, Form Description and Form Type. Once you’ve created your form, you can decide what fields are displayed on that form. If you would like to set your custom form as the default form for the form type that you selected, click on “Set as default for form type” at the top of the page. An example to use for multiple forms are collecting different information from different registration modules across your Engage pages and plugins.
Adding Text to Forms
Another advantage of the editable forms is the ability to add custom text above and below the form, to help clients understand why they need to provide information. This can be anything from a simple message to detailed steps for acting.
Under the “Forms” page, go to the Form you wish to edit. To add text, click in the space just under “Header,” “Subheader” or “Footer.” That opens the area for editing and you can add in your custom text: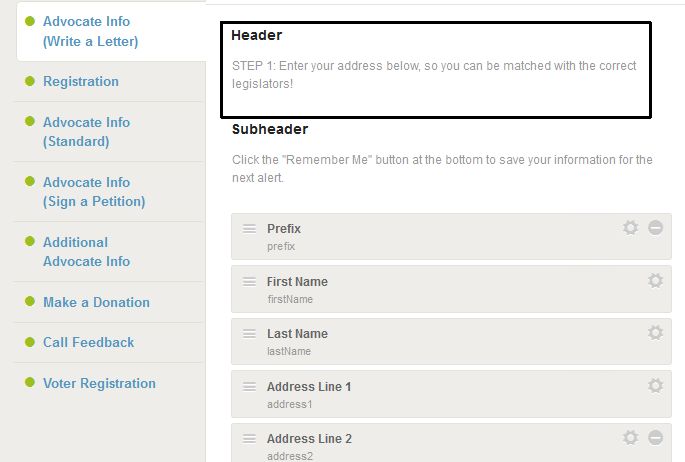
Once the form is saved and published, this will appear any time the form is used:
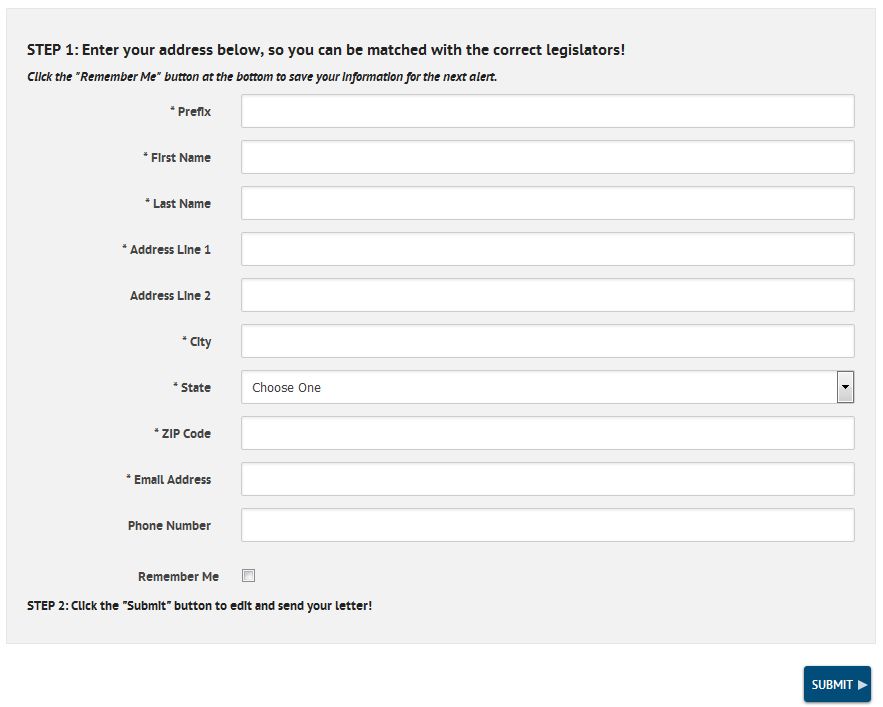
This will help clarify instructions on the form without setting up custom text on every alert.
An Important Note: The “Email Opt-In” field needs to be available if you want users subscribed to your mailing lists. If you remove the “Email Opt-In” field from any form, records will be added to the site marked as “Never Subscribed.”